Conceptual Process – AI Bubble Update Two
Background
This week, we have a third update to the epic tale that ‘Reflections in an AI Bubble’ is becoming. If you’d like to go to the start of this story before reading this, jump HERE.
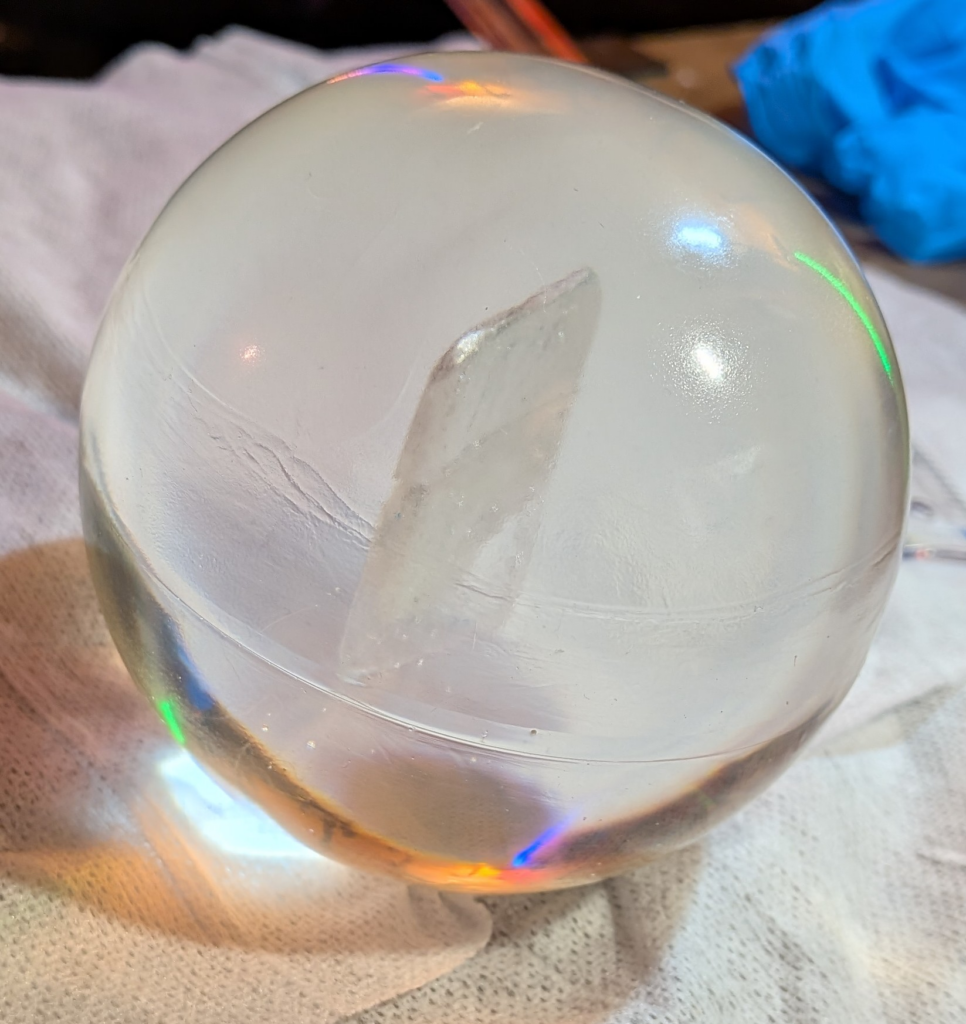
In my last general studio update for February which you can read HERE, I mentioned that I had made progress and managed to successfully demould a sphere with a ‘screen’ suspended inside without the associated gooeyness of my first attempt. The next requirement at the end of my update was that I sand the unsightly casting lines that the mould had left around the outside of the sphere.
Now, I have never really been able to sand anything without completely destroying it before because I didn’t really know what I was doing. So, in the spirit of the piece I asked AI what to do – I received an explanation of which sanding grits to use and the graduations I should move to. A google search probably will have been as successful but I do think it would have taken a great deal longer. This process was not without trepidation though since I had spent a long time on this piece and here was yet another part where it could all go hideously wrong!
Fortunately I ended up with the following result, which, whilst not completely perfect is not unpleasing either.
Good and Bad Standing of AI
So, for a few days I pondered the stand and also my next steps. A few weeks prior I had met a few people through a friend who did not have a good view of AI since it had made them lose work and this made me reflect on the nature of the changes that are upon us. We don’t really have any choice in them as individuals and this tool could be as sinister as it is helpful, as alluded to in my first pondering post.
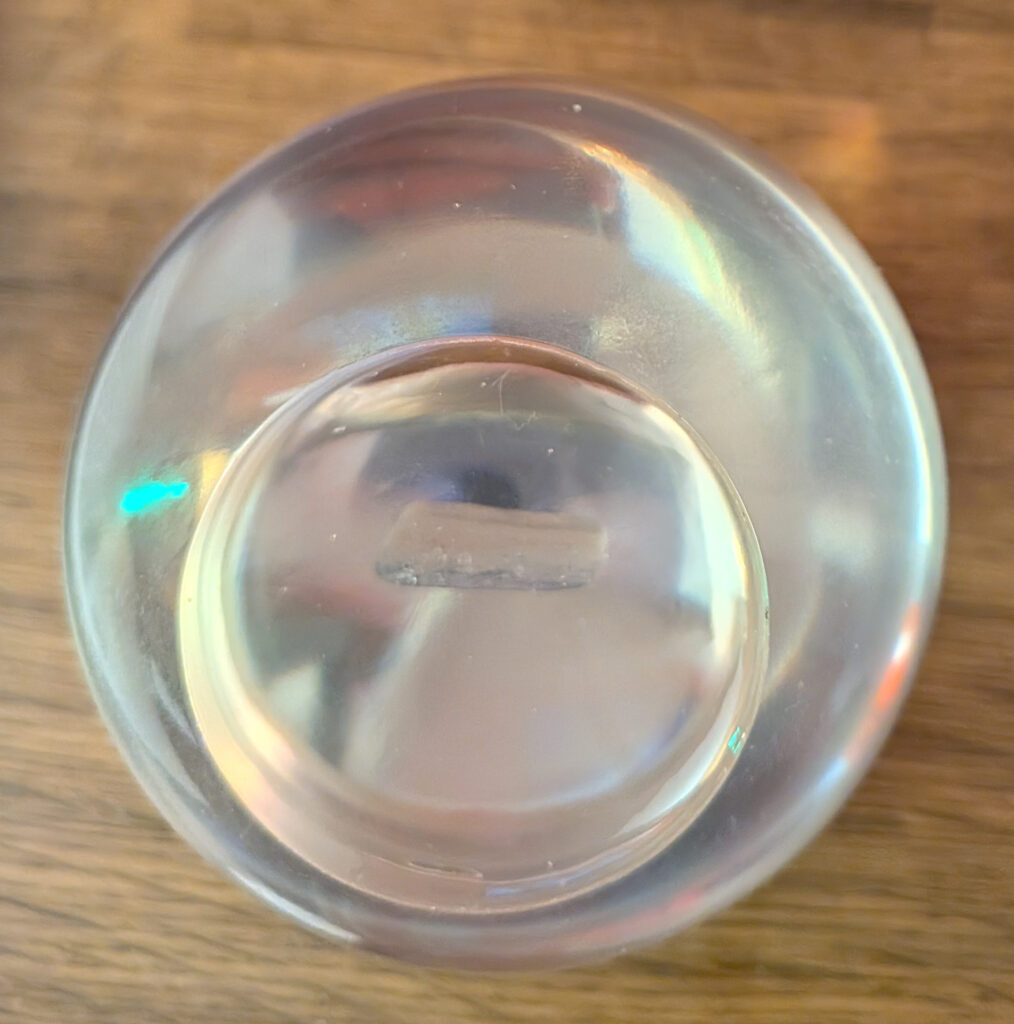
So my first instinct was to make two more bubbles, each one cast in light that reflects attitudes towards AI. Green, red, which is obvious as to why (green =good red = bad) and clear white for neutral – a lot of our use of AI is matter of fact and neutral so that does need to be included. We also still had the flat top which I still wanted to use as a view port into the piece to have a mirror reflect the observers distorted reflection back at them, another metaphor. You can just make out my phone in the above shot here.
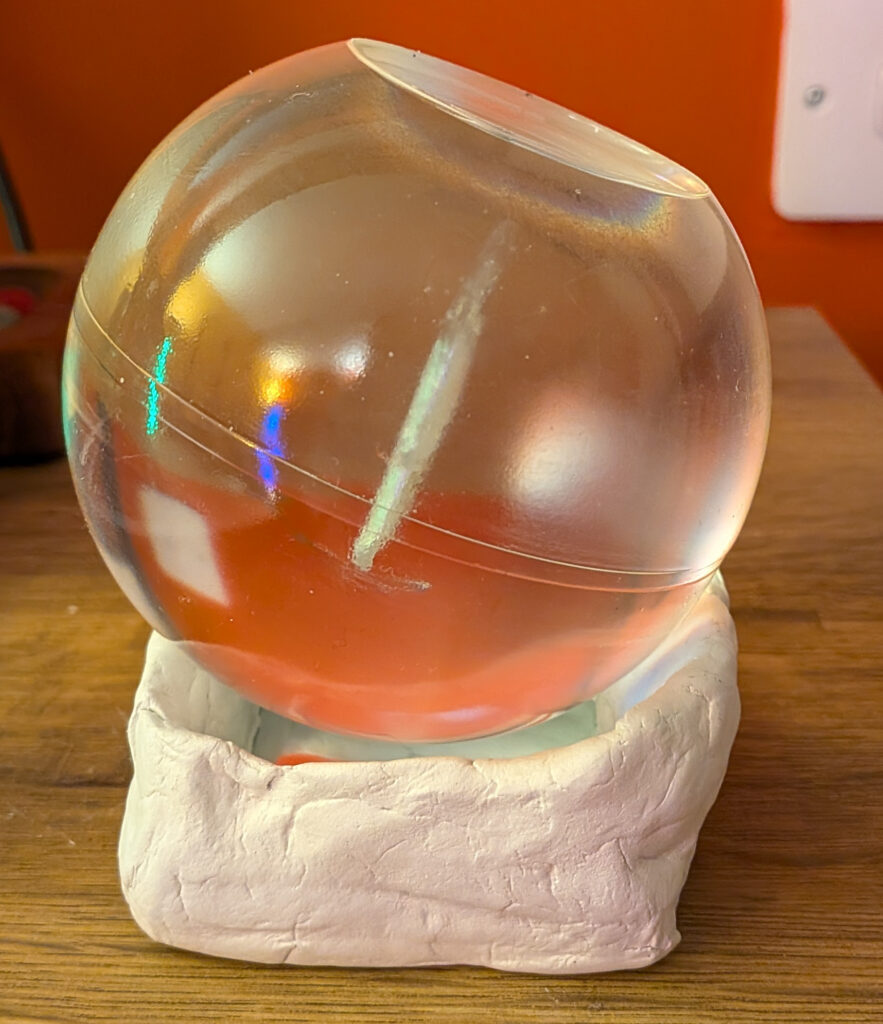
I had been thinking about possible stands for this for a while and in the end because it needed a mirror I just took an eye shadow box that I never use (I don’t really wear eye shadow, I don’t really know how to use make up and so am always sporting the ‘natural look’) and broke it apart to use the mirror as a base. Clay went around the mirror of the compact and I ended up with this, rough and ready but it gets the job done.
Seeing the Light
When I had been sizing up the compact with the bubble its black colour worked nicely so the base was painted black, inside and out. The idea with lights had evolved to my want for the bubble to have three colours in one box as it were and have them fade in and out, which I felt is an even more powerful metaphor for the different perceptions of AI, all the same thing, different views.
This required LEDs and some electronics work. Have I ever done anything with LEDs and electronics work? Never. So, once again I turned I asked AI to talk me through what I needed and what I should do.
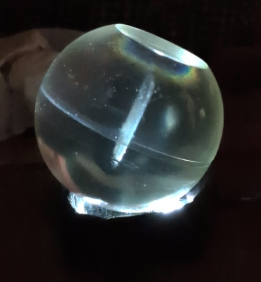
I am never going to contend that this was the most efficient way to learn, there was a lot of trial and error and I definitely had to have my wits about me to try and work things out – you can’t just use this tool without some common sense to twig when it’s got itself mixed up or has got the wrong end of the stick – it loves to get the wrong end of the stick BUT at the end of the day, five years ago I don’t think I could have rigged this up in an afternoon with no prior training:
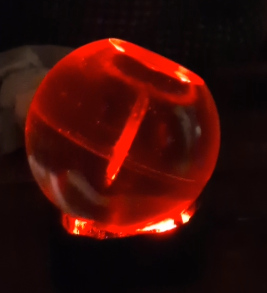
Green Issues
Now you may notice there is a colour missing here – Green. The green is hardly noticeable and these colours above are only visible in the dark, so I’m still not finished with this one! I am currently working on the best ways at amping up the light so the room doesn’t have to be totally dark for the effect to be seen and after that I need to work out how to get my prototype electronics from the breadboard to a hard wired piece. Then we will have finally arrived!
This one is definitely a slog but I can’t deny I have learned a lot which may come in useful for my upcycling business too so it’s well worth it. Plus this does look great in a pitch black room at least so the proof of concept is there!
Hopefully though, the next update on this will be the last.
Read the other stories in relation to the progress of this piece HERE (Concept) and HERE (Update One)
Read my other stories in respect of my studio pieces and collections HERE