Conceptual Process Update – Reflections in an AI bubble
Intriguing Initial Reveal
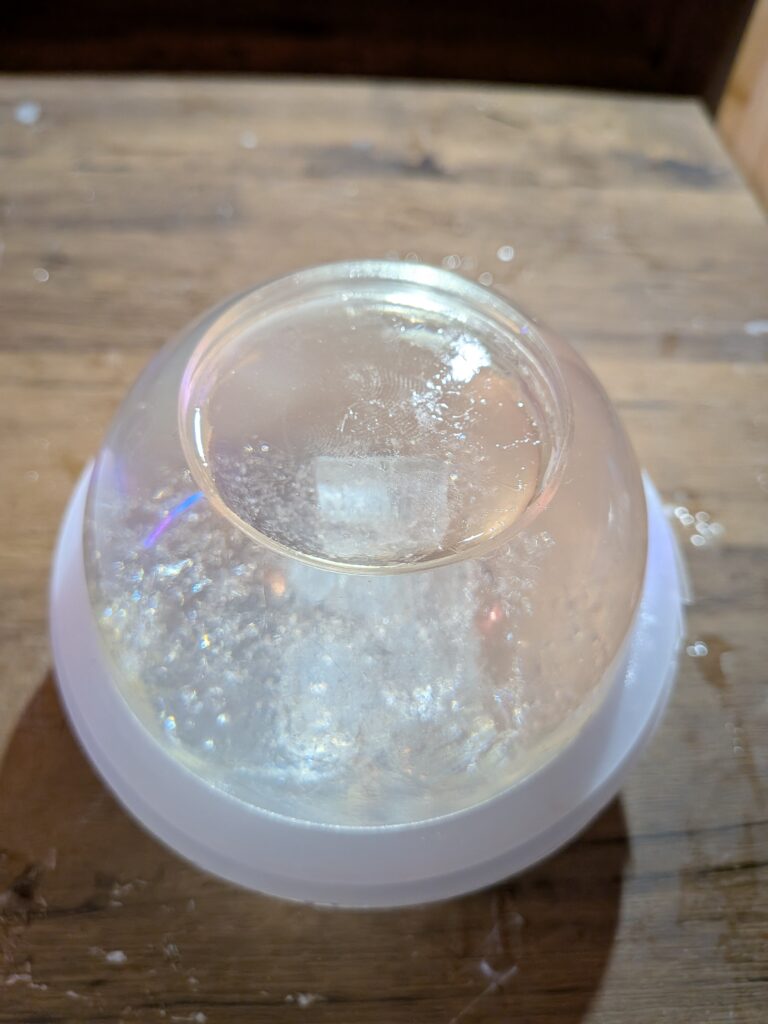
In my previous post I talked about my first attempt at this conceptual piece and the ideas behind it. If you’re curious, you can read that one HERE. Going into the unmoulding, I wasn’t convinced the pour had cured properly but still felt a bit like Christmas morning taking the top off the mould. I was looking forward to seeing what was inside.
Peeling away the upper half of the mould, I was surprised by how much I liked the flat top. It was still tacky however (so clearly something had gone wrong) but visually it acted like a window into the piece. I’m now planning to recreate this aspect with my next attempt.
Although the photo makes it look chaotic, to the naked eye the embedded screen seemed suspended in a kind of maelstrom. For a bit I wondered whether the piece might be salvageable. Maybe I could remove the uncured lower half, sand the cured section and repour. At the very least, it would teach me how sanded epoxy bonds with a second pour, a lesson I have yet to learn.
From the top, the screen looked well positioned and the middle rig seemed to have held. So I waited until I had plenty of time, a clear workspace and gloves on to see what the underside had in store.
Surprising Bottoms
Tentatively, I peeled away the lower part of the mould, fully expecting a wave of viscous gel to ooze everywhere. Instead and probably unsurprisingly to anyone who actually knows what they’re doing, I found a sphere with a soft, pressable bottom. You could poke it and still see the indent for a while. It was quite fun to poke and prod but it was not exactly what I was looking for. At this stage I was still hopeful I could remove the soft section and salvage the rest, especially since I planned to mount the sphere on a stand in its final form.
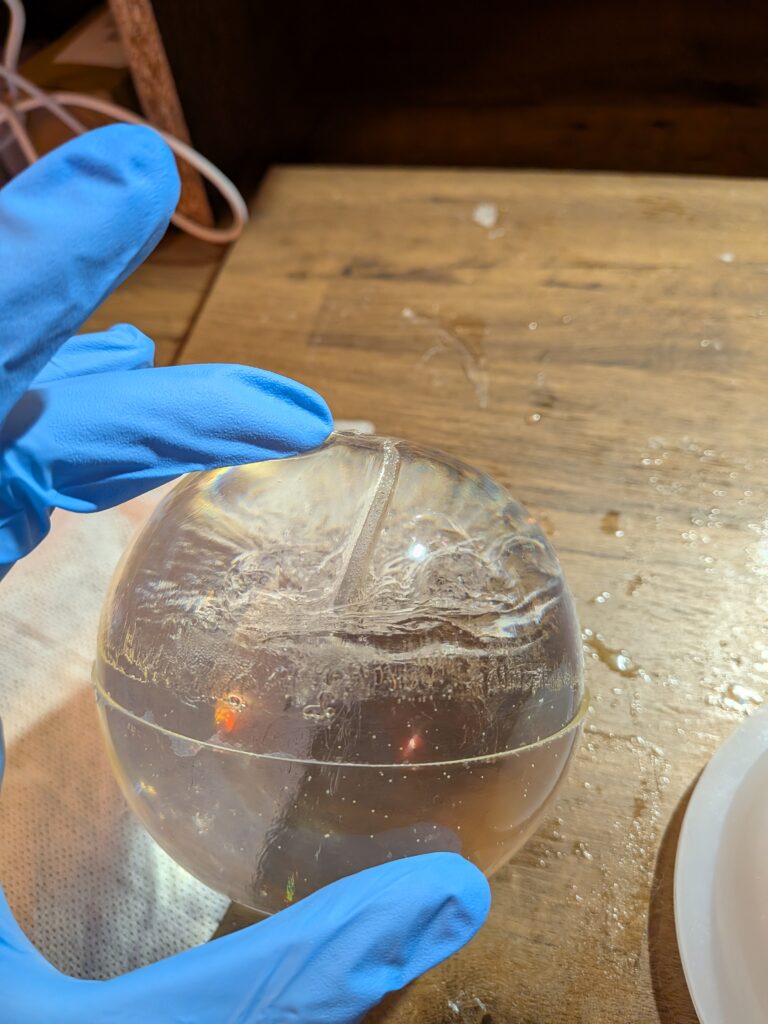
However, once the whole thing was revealed more issues came to light. The screen had either sunk to the bottom during the cure or the refraction made it appear that way. Either meant a repour would not save this. As well as that, all of the messing about with last minute adjustments on the rig for the screen had created far too many movement bubbles for the meaning of the piece.
Lessons and Next Steps
Despite the less than ideal result, I don’t consider this a failure, I learned a lot from this pour.
- How deep pour epoxy reacts in certain temperatures (I am fairly sure I had the room too cold.)
- How not to try and suspend something in a sphere (don’t rush, have a stronger support.)
- What a partially cured deep pour reacts like (a fun goo that feels fun to press.)
- How visually interesting a flat topped sphere can be.
I was thinking of starting my next attempt yesterday but things got in the way and I ended up working on an upcycled lamp experiment instead. I’ve also realised I need to be more scientific about volumes and timing. I’ve bought scales, I’m reviewing the spec sheet properly, and im thinking more carefully about when to start the pour so it aligns with days I can actually attend to it. Common sense really but I tend to only learn through mistakes.
So Friday it is.
In the meantime, I’ll be working on things that I am able to put together with far more aplomb across a range of mediums. If you would like to see some examples of my felt work, which is what I have uploaded to my portfolio so far, you can do that HERE.
See the other stories regarding the bubble and my other works HERE